DIY '10 things I love about you'
You will need:
- thick colored paper
- scissors
- ribbon
- a pen
- a hole puncher (forgot to show that in the picture)
First, cut out eleven hearts, big enough to write a little note on. Then with a hole puncher, punch a hole through the hearts at the top. Pull the ribbon through the holes and tie a little bow. To make sure that the ribbon won't raffle, you can add some clear nail polish to the ends. Now write '10 things I love about you', or another title on the first heart and write something you love about the person you're giving this gift to on each little heart, starting from the second heart.
DIY candy jar
A sweet DIY and easy to personalize by using your receiver's favorite candy.
You will need:
- a small jar
- different kinds of candy
- scissors
- ribbon, washi tape, colored paper, or something else to decorate your jar
First, your jar needs a Valentine's day make-over. You can use ribbon, washi tape, colored paper, glitter, stickers... anything you like! I used picmonkey.com to design a little label to glue on the lid. This is the label I designed:
If you want, you can use the label I designed, but you can also design your own! Once your jar looks ready for Valentine's day, fill it up with the candy and screw on the lid. For my candy I went for a pink, red, white and silver theme: I used hearts, peppermints, red lips, silver edible beads and pink mushrooms. I know mushrooms are totally unrelated to Valentine's day, but I thought it went well with the theme :).
And lastly...
DIY Arrow Message
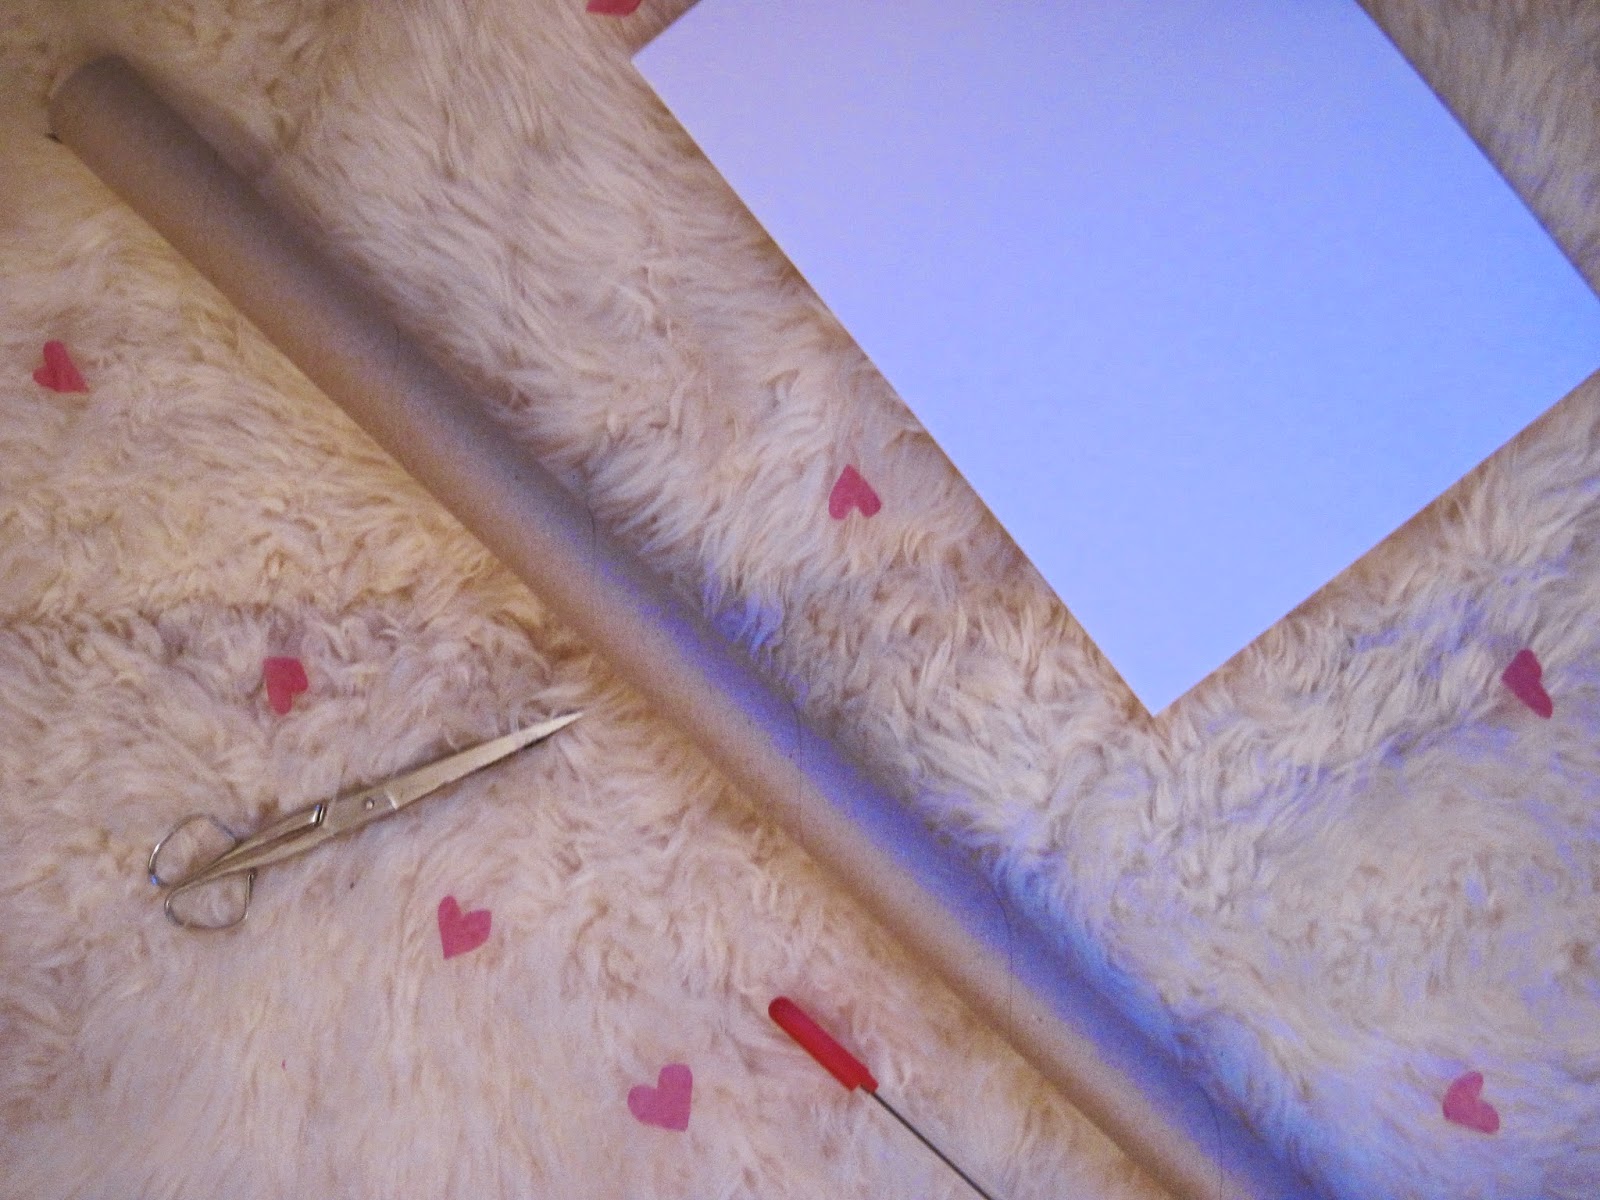
You will need:
- a long cardboard roll (I used the inside of a gift wrapping paper roll)
- 2 sheets of paper (I used white)
- a pen
- glue (forgot to show in the picture)
- scissors
- washi tape, glitters, ribbon, or something else to decorate with
First, make your cardboard roll shorter by cutting off a part of the roll so that you have the length you want. Then, using the cut-off part of the cardboard roll, cut out a triangle (but save some space for other triangles): this will be the tip of the arrow. I sticked washi tape on the edges of the triangle, to hide some imperfections. Then cut out 4 smaller triangles, to make the feather kind of thing at the bottom (I really don't know what it's called). I also used washi tape for these. Now it's time for the message. Cut long strips of paper of about an inch in width (= a bit longer than 2 cm), depending on the length of your message. Now you have two options: you can write your message on the strips and then stick them on the arrow, or you can stick the strips on the arrow and then write your message. If you choose the first option, it's easier to write, but it is posssible that parts of the strips overlap the words. That's why I chose the second option, but I'm pretty sure either option will work.
Once your message is written, you can cut 4 slits at the bottom to put your little triangles in and make two little cuts at the top. Then, you can finish decorating! I added some glitter to the triangles as a finishing touch.
xox Mia
(PS. I'm sooo, sooo sorry that I posted a week late! I was really busy with school, and certainly didn't want to post a unfinished post.)


No comments:
Post a Comment