Showing posts with label DIY. Show all posts

Sunday, July 12, 2015

5 cute DIY's to do this summer


Yay, my summer break has finally officially started! I'm really excited. Now I have a bunch of time to try out lots of DIY's! That's why today's post is a little list of 5 cute DIY's to do this summer, that I collected from 5 lovely (DIY) blogs.


Friday, February 6, 2015

3 DIY Valentine's Day Gifts


Valentine's day is coming up! I think Valentine's day is a great day to let your friends and family know how much you love them. Especially on a day like Valentine's day, it's nice to receive a personal gift. And what's more personal than a gift you made yourself? That's why I created 3 DIY Valentine's day gifts, which you can give to your friends, family, or maybe even your crush. :)

DIY '10 things I love about you'


This DIY is very easy, but certainly very personal and cute.


You will need:
- thick colored paper
- scissors
- ribbon
- a pen
- a hole puncher (forgot to show that in the picture)

First, cut out eleven hearts, big enough to write a little note on. Then with a hole puncher, punch a hole through the hearts at the top. Pull the ribbon through the holes and tie a little bow. To make sure that the  ribbon won't raffle, you can add some clear nail polish to the ends. Now write '10 things I love about you', or another title on the first heart and write something you love about the person you're giving this gift to on each little heart, starting from the second heart.

DIY candy jar


A sweet DIY and easy to personalize by using your receiver's favorite candy.


You will need:
- a small jar
- different kinds of candy
- scissors
- ribbon, washi tape, colored paper, or something else to decorate your jar

 First, your jar needs a Valentine's day make-over. You can use ribbon, washi tape, colored paper, glitter, stickers... anything you like! I used picmonkey.com to design a little label to glue on the lid. This is the label I designed:


If you want, you can use the label I designed, but you can also design your own! Once your jar looks ready for Valentine's day, fill it up with the candy and screw on the lid. For my candy I went for a pink, red, white and silver theme: I used hearts, peppermints, red lips, silver edible beads and  pink mushrooms. I know mushrooms are totally unrelated to Valentine's day, but I thought it went well with the theme :).

And lastly...
 DIY Arrow Message


Create a personalised Cupid's arrow, to send your Valentine a cute message.


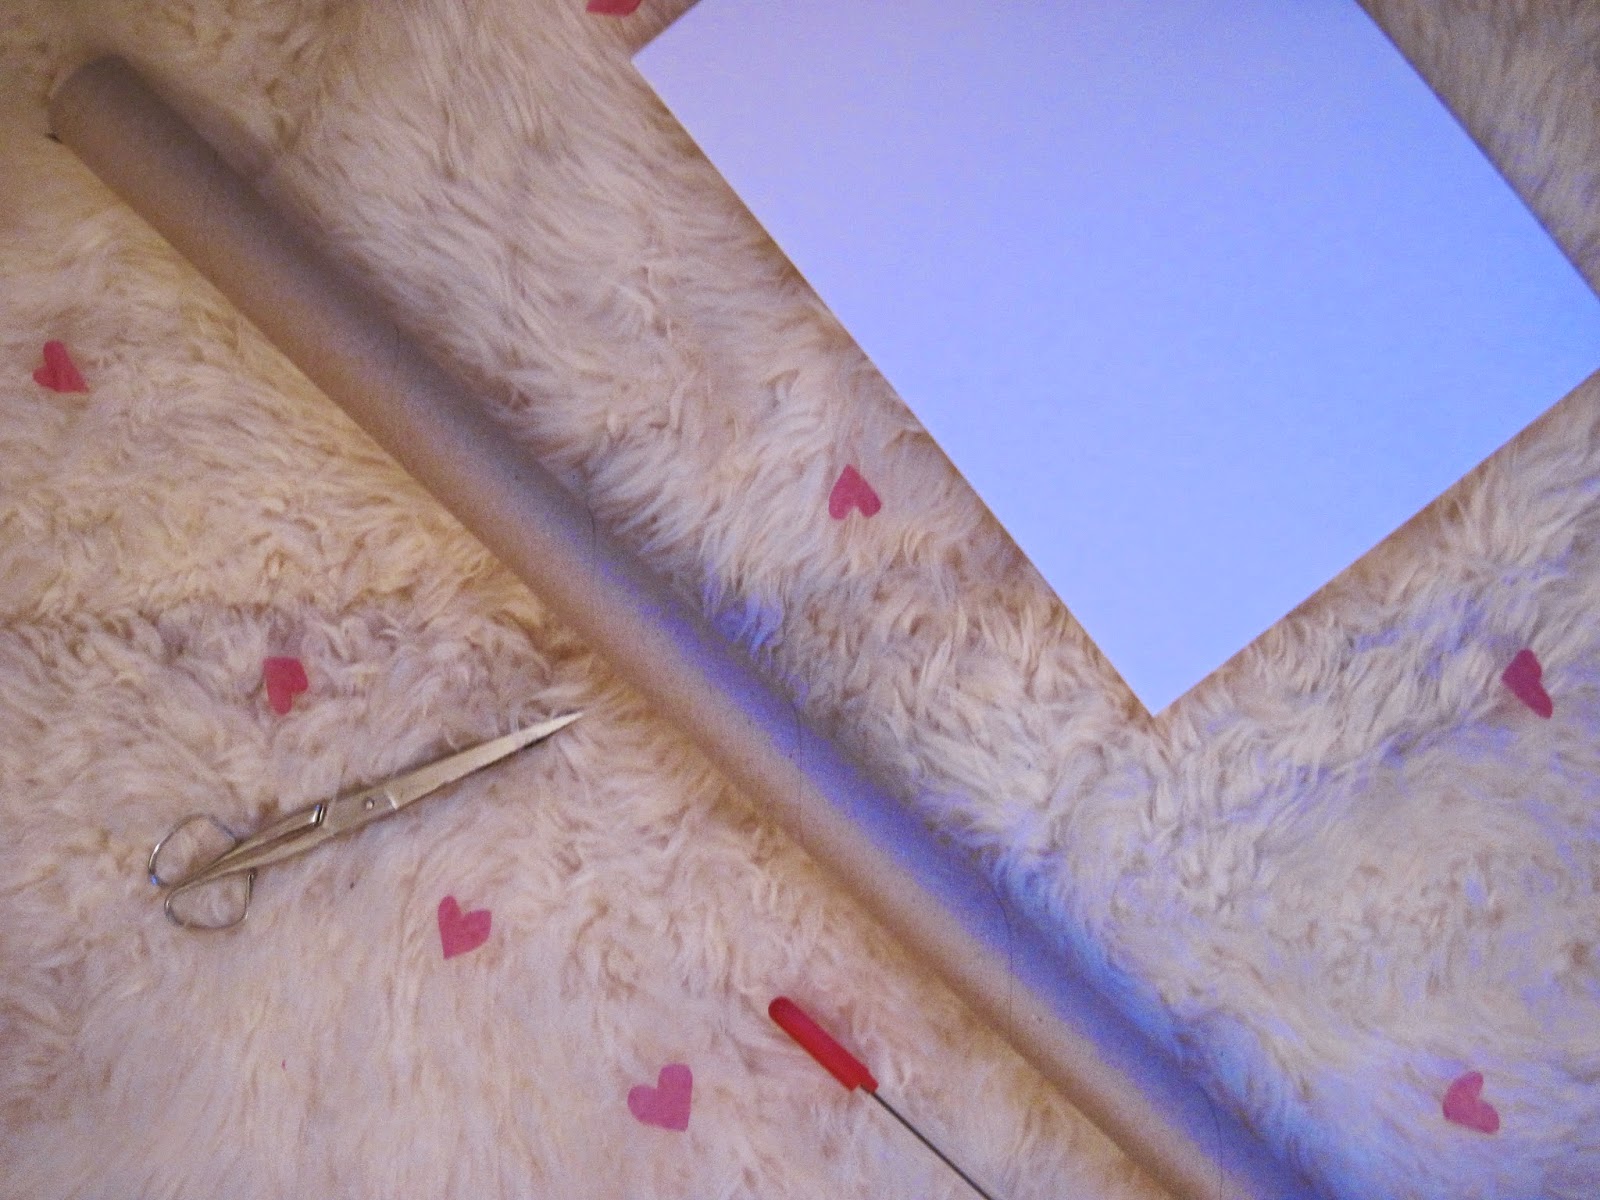
You will need:
- a long cardboard roll (I used the inside of a gift wrapping paper roll)
- 2 sheets of paper (I used white)
- a pen
- glue (forgot to show in the picture)
- scissors
- washi tape, glitters, ribbon, or something else to decorate with

First, make your cardboard roll shorter by cutting off a part of the roll so that you have the length you want. Then, using the cut-off part of the cardboard roll, cut out a triangle (but save some space for other triangles): this will be the tip of the arrow. I sticked washi tape on the edges of the triangle, to hide some imperfections. Then cut out 4 smaller triangles, to make the feather kind of thing at the bottom (I really don't know what it's called). I also used washi tape for these. Now it's time for the message. Cut long strips of paper of about an inch in width (= a bit longer than 2 cm), depending on the length of your message. Now you have two options: you can write your message on the strips and then stick them on the arrow, or you can stick the strips on the arrow and then write your message. If you choose the first option, it's easier to write, but it is posssible that parts of the strips overlap the words. That's why I chose the second option, but I'm pretty sure either option will work.


Once your message is written, you can cut 4 slits at the bottom to put your little triangles in and make two little cuts at the top. Then, you can finish decorating! I added some glitter to the triangles as a finishing touch.


I hope you liked these 3 DIY's and have a lovely Valentine's day!

xox Mia

(PS. I'm sooo, sooo sorry that I posted a week late! I was really busy with school, and certainly didn't want to post a unfinished post.)


Saturday, December 6, 2014

Christmas Room DIYcor


Hi!
It's almost Christmas! I love decorating my room for Christmas, especially with DIY's. I chose to do a Christmas Room DIYcor as my first post of my Christmas series ElephantasticXOXmas, because it gets you (and your room) ready for Christmas!


DIY Countdown Calendar 


A great DIY if you can't wait for Christmas!

What you will need for this DIY:
- 25 little square pieces of origami paper
- a piece of paper (normal sized)
- glue
- a pen

To make this DIY, you will need 25 origami pockets. This is how you make them:

1. Fold your square piece of paper in half diagonally.
2. Take the right corner and fold it as shown in the picture.
3. Flip your piece of paper over and do the same thing on the other side. It should look like shown in the picture now.
4. Fold the top little triangle down so that you can see the inside color and do the same thing on the other side.

Now repeat these steps 25 times. Once you've folded all the pockets, you can glue them on your piece of paper and write the dates on the white part of the pockets. All you have to do at this point is fill the pockets with whatever you want: you can put in chocolate, little notes, it's up to you! Now you can count down to Christmas by taking the content from a pocket every day!

Christmas Lights


I love Christmas lights! They really give your room a cozy and Christmasy feeling. You can hang them above your bed, hanging from the ceiling, however you want! (I got mine from IKEA.)


DIY Glitter Christmas Word Art


To add some Christmas glitter to your room!

What you will need for this DIY:
- a computer/laptop
- a printer
- glue
- glitter
- a picture frame (optional)

For this DIY I used the words 'Let It Snow', but you can also use another Christmas song quote. Then, using a photo editing site called Picmonkey, I chose a nice font for my words and printed it out. If you want, you can also use a word processing program or hand draw your words. Now it's time for glitter! Spread glue on the letters and sprinkle your glitter on top. Hold your piece of paper vertically to remove the excess glitter. Lastly, you can put your word art in a frame.

Music


I always think music is also a very nice 'decoration'! I made a Christmas playlist on Spotify, so that I can listen to the playlist on my laptop and phone in my room. Some of my favorite songs from my Christmas playlist are 'All I Want or Christmas Is You' by Mariah Carey and 'Santa Tell Me' by Ariana Grande.


New Year's Resolution Pot 


What you will need for this DIY:
- a pot, preferably glass
- colorful pieces of paper

This is actually a DIY for New Year's, but you can start making it around Christmas time. What you do is think of New Year's resolutions and write them on colorful pieces of paper. You can also write down challenges, such as 'Don't say the word 'okay' today' or tell yourself to do something, like 'Wear green socks'. Then fold them and put them in your pot. Starting from January 1st, pick a piece of paper from your pot everyday or every week and do what it says!

Have fun decorating your room for Christmas!

xox Mia


Saturday, November 22, 2014

DIY Customizable Cover


Hi!

I am so happy that I'm able to write a second post this month! In my first post, 'about my blog', I said that I would try to post something at least once a month, but I love blogging and I have more time than I thought, so I've decided that I'm going to post something at least once every two weeks!

Anyways, in this post I'm going to show you how to make a customizable cover for your notebook, agenda, etc. What I love about this DIY is that you can change the look of your notebook or agenda whenever you want and make it look exactly like you want it to! You can change it along with the seasons or just when you're bored of your old cover ;).


What you will need:


- a (old) notebook, agenda, etc. (mine is 14cm x 14cm, which is about 5.5 in x 5.5 in)
- a thin transparant plastic folder (two open sides, two closed sides), bigger than your notebook
- a hot glue gun
- scissors or a paper cutter
- a ruler
- a pen
- washi tape (optional)

Let's get started!

1. First, wrap your plastic folder around your notebook, to see where you have to cut off the excess. (Make sure that you wrap your plastic folder around your notebook while it's closed, because otherwise your cover will be to small!) With a pen, mark the spot where you're going to cut. Then, with a ruler, draw the lines that you are going to cut along. Now you can cut off the excess plastic with scissors or a paper cutter. I used a paper cutter, but because it's such a big thing, I thought it would be better show scissors in the picture.

2. Time to glue!


This is the way I recommend glueing your cover onto your notebook:

Before you glue on your cover, close the short, opened side of your folder with glue, leaving you with one long opened side, which will be on the top. (You can use the same method explained below.) Now you can glue on your cover!
First glue along the blue line, also in the direction the arrow is pointing. Keep adding a drop or short line of glue and then press onto that spot, to make sure it sticks well. (I recommend doing it like this, because otherwise,  if you glue one long line at once, the glue at the bottom will dry before you can press on the cover.) Then, using the same method, glue along the two green lines second and the pink line third. 
Now, do the same thing on the other side of your notebook!


Customize and Personalize!

For this step, I can't give any instructions: it's up to you!
I chose a cute, patterned piece of paper and cut it so that it would fit in my cover. I also cut some pictures from magazines and wrote the titel of my notebook on a little piece of paper shaped like a cloud. If there is some glue on the sides of your notebook sticking out, I recommend wrapping washi tape around the sides to cover up the glue.
Have fun customizing your notebook!


I hope you liked this DIY customizable cover! I used it to make a cover for my recipe notebook, in which I glue recipes that I've cut out of magazines and write recipes. I will be posting recipes, too, soon!

xox Mia

Have an elephantastic day!