Showing posts with label holiday. Show all posts

Saturday, March 21, 2015

What To Do On Easter


Yay! Easter is in about 2 weeks! I always like Easter (a sign of spring!), but it isn't as obvious what to do on Easter as it is on, say, Christmas. I really think it's nice to do something special to celebrate Easter, though, so I decided to write a post on 4 things to do on Easter. Enjoy!


The first, actually kind of obvious thing to do is...

An Easter egg hunt!

An Easter egg hunt is always a lot of fun. If you are not really the 'searching type', you can also hide the eggs, which is a lot if fun, too! You can decorate real eggs or you can also fill plastic eggs with notes or candies, be creative! 


An Easter brunch

This next thing to do on Easter is something I do every year with my family: we have an Easter brunch (at my grandparents' house). It's such a nice way to spend time with your family. Also, it's a lot of fun preparing the dishes and it's super yummy! 


A relaxing, pampering morning

A wonderful way to celebrate Easter is to give yourself a relaxing, pampering morning, so you can start spring (and your day) fresh, relaxed, and happy. For my pampering morning I will take a lovely bath using a Lush bath bomb or bubble bar (I just love how that word sounds!). Also, I will put on some music and light a little candle. I always feel great after this and I'm sure you will, too!


Collect inspiring, motivating spring quotes

Another nice thing to do on Easter is to collect lots of inspiring, motivating quotes for spring. I think this is a great way to start spring positive, inspired and motivated. I really like the quote 'Throw kindness around like confetti', because it really inspires me to spread kindness and happiness, and who doesn't like confetti? (I found the artwork of this quote on this website.) You can use these quotes as your screen wallpaper, frame them, paste them in you notebook or stick them on your mirror (so you will look at it every morning) :). As you can see in the picture, I still have an empty frame. Room for more quotes! 

I hope you enjoyed reading this post and that it gave you some inspiration on what to do on Easter. You can do one of these options, or you can combine them!

Have a wonderful Easter.

Love,
           Mia

Friday, February 6, 2015

3 DIY Valentine's Day Gifts


Valentine's day is coming up! I think Valentine's day is a great day to let your friends and family know how much you love them. Especially on a day like Valentine's day, it's nice to receive a personal gift. And what's more personal than a gift you made yourself? That's why I created 3 DIY Valentine's day gifts, which you can give to your friends, family, or maybe even your crush. :)

DIY '10 things I love about you'


This DIY is very easy, but certainly very personal and cute.


You will need:
- thick colored paper
- scissors
- ribbon
- a pen
- a hole puncher (forgot to show that in the picture)

First, cut out eleven hearts, big enough to write a little note on. Then with a hole puncher, punch a hole through the hearts at the top. Pull the ribbon through the holes and tie a little bow. To make sure that the  ribbon won't raffle, you can add some clear nail polish to the ends. Now write '10 things I love about you', or another title on the first heart and write something you love about the person you're giving this gift to on each little heart, starting from the second heart.

DIY candy jar


A sweet DIY and easy to personalize by using your receiver's favorite candy.


You will need:
- a small jar
- different kinds of candy
- scissors
- ribbon, washi tape, colored paper, or something else to decorate your jar

 First, your jar needs a Valentine's day make-over. You can use ribbon, washi tape, colored paper, glitter, stickers... anything you like! I used picmonkey.com to design a little label to glue on the lid. This is the label I designed:


If you want, you can use the label I designed, but you can also design your own! Once your jar looks ready for Valentine's day, fill it up with the candy and screw on the lid. For my candy I went for a pink, red, white and silver theme: I used hearts, peppermints, red lips, silver edible beads and  pink mushrooms. I know mushrooms are totally unrelated to Valentine's day, but I thought it went well with the theme :).

And lastly...
 DIY Arrow Message


Create a personalised Cupid's arrow, to send your Valentine a cute message.


You will need:
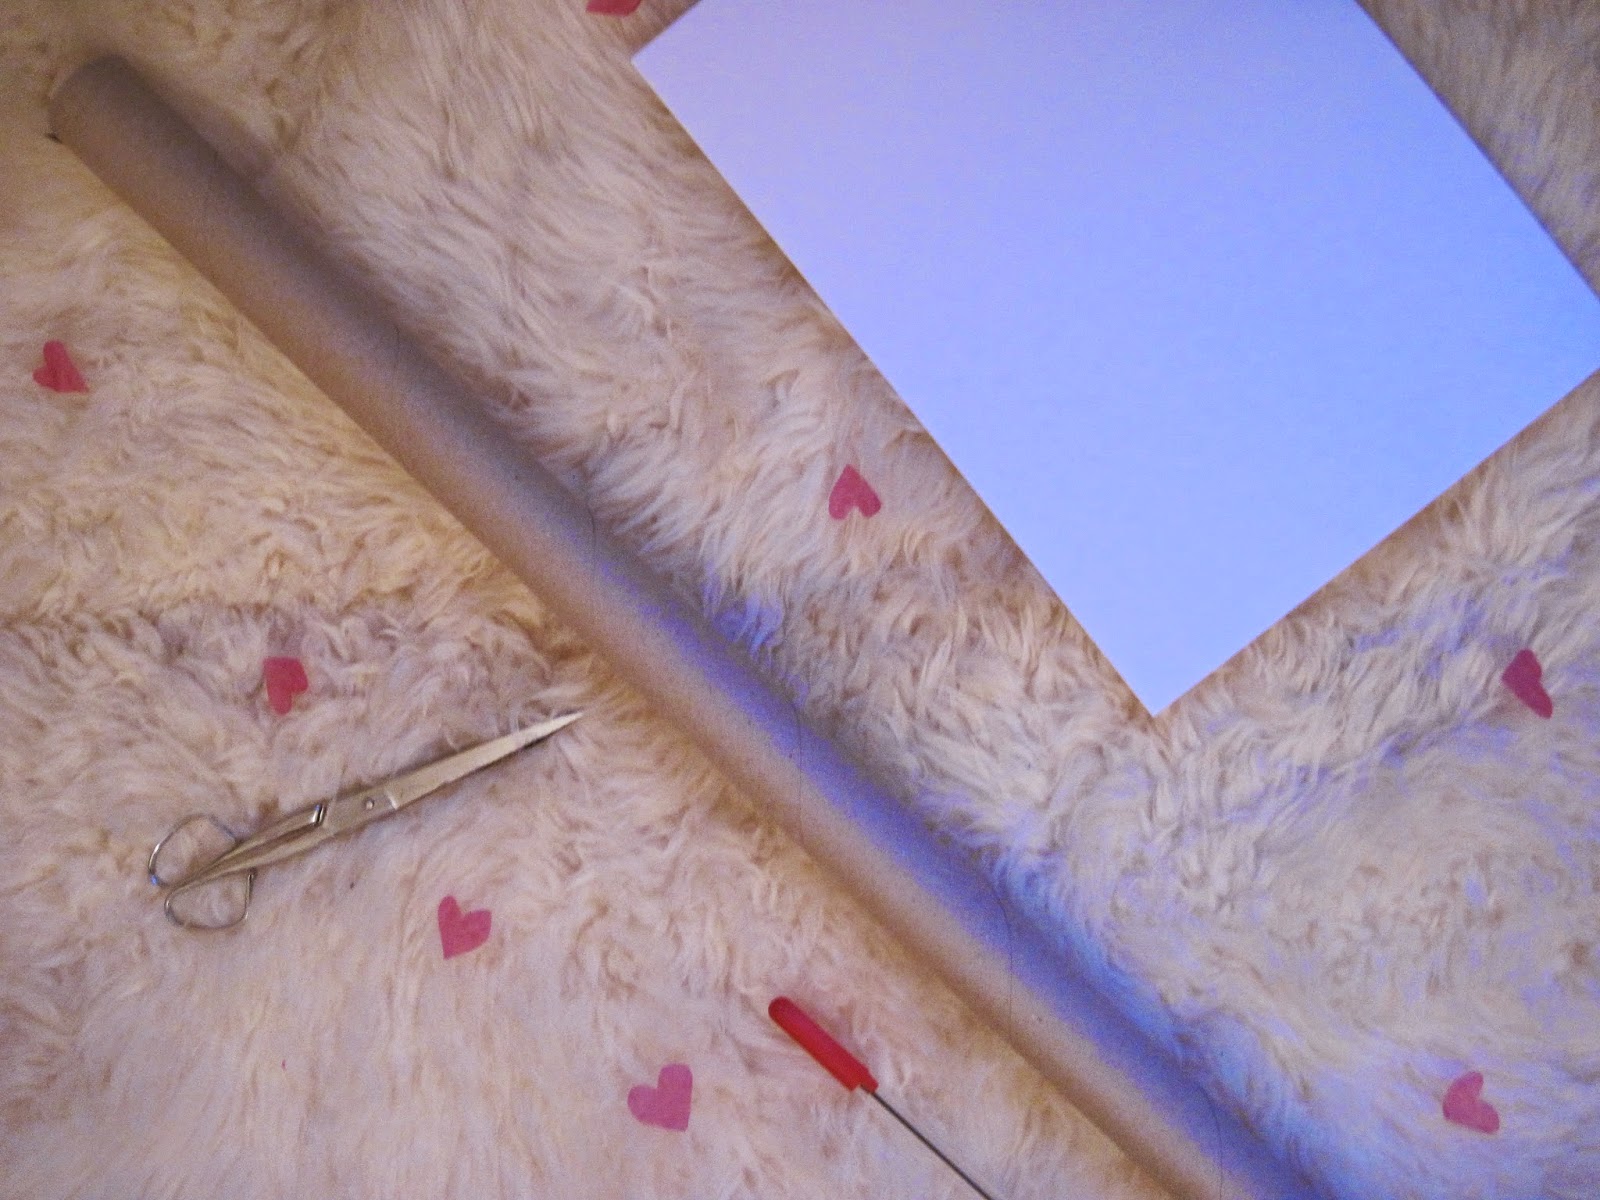
- a long cardboard roll (I used the inside of a gift wrapping paper roll)
- 2 sheets of paper (I used white)
- a pen
- glue (forgot to show in the picture)
- scissors
- washi tape, glitters, ribbon, or something else to decorate with

First, make your cardboard roll shorter by cutting off a part of the roll so that you have the length you want. Then, using the cut-off part of the cardboard roll, cut out a triangle (but save some space for other triangles): this will be the tip of the arrow. I sticked washi tape on the edges of the triangle, to hide some imperfections. Then cut out 4 smaller triangles, to make the feather kind of thing at the bottom (I really don't know what it's called). I also used washi tape for these. Now it's time for the message. Cut long strips of paper of about an inch in width (= a bit longer than 2 cm), depending on the length of your message. Now you have two options: you can write your message on the strips and then stick them on the arrow, or you can stick the strips on the arrow and then write your message. If you choose the first option, it's easier to write, but it is posssible that parts of the strips overlap the words. That's why I chose the second option, but I'm pretty sure either option will work.


Once your message is written, you can cut 4 slits at the bottom to put your little triangles in and make two little cuts at the top. Then, you can finish decorating! I added some glitter to the triangles as a finishing touch.


I hope you liked these 3 DIY's and have a lovely Valentine's day!

xox Mia

(PS. I'm sooo, sooo sorry that I posted a week late! I was really busy with school, and certainly didn't want to post a unfinished post.)


Tuesday, December 23, 2014

Favorite Christmas Treat: Peppermint Bark


Hi!
I'm really excited to share this peppermint bark recipe with you, as my third post of ElephantasticXOXmas! I love peppermint bark and I think it's a perfect Christmas treat (it's my favorite!).


All you will need for this recipe is:
- 180 grams of white chocolate (= about 6.3 oz.)
- 180 grams of dark chocolate or milk chocolate
- about 6 candy canes

- 1 or 2 glass (oven)dishes/bowls that are heatproof (mine are from Pyrex)
- a rectangular (oven)dishes/bowls that is heatproof (mine is from Pyrex)
- 1 or 2 wooden spoons
- parchment paper
- a sauce pan
- a spatula with a rubber tip
- a stove
If you are going to use 2 glass (oven)dishes/bowls, you will have to clean one in between. The same is for the wooden spoons: if you are using one, you will have to clean one in between.
If you want, you can also use some more of the dark/milk chocolate or of the white chocolate, depending on what layer you want to make thicker. I'm using dark chocolate, because I looove dark chocolate.
~~~

This recipe will make a piece of peppermint bark that is 25.5 cm by 17 cm (= 10 in. by 6.7 in.). Making this pepermint bark will take about an hour and 15 minutes. Have fun and let's get started!

~~~

Step 1: Crushing the candy canes

The crushed candy canes will be sprinkled on top of the chocolate at the end. To crush them, I used a mortar and pestle, but there are many ways to crush them.
Also, put your parchment paper in your rectangular glass (oven)dish and make creases so that it fits right. You can also use some tape to make it stick to the dish and cut the excess paper off.

Step 2: Melting & pouring the chocolate

To melt the chocolate, use the au bain marie technique: break your dark/milk chocolate in little pieces and put the pieces in your glass (oven)dishes/bowl. Fill your sauce pan partly with water and put your glass (oven)dishes/bowl on the sauce pan. Make sure that the glass (oven)dishes/bowl is not touching the water. Let the water simmer (not boil!) and wait for the chocolate to melt. While the chocolate is melting, keep stirring the chocolate with your wooden spoon.


When the chocolate is completely melted, remove it from the pan and pour the melted chocolate into your rectangular glass (oven)dish and use your spatula to scoop out all the chocolate. Also use the spatula to smooth out the chocolate in the dish. Once you've finished smoothing the chocolate out, put the dish in the refridgerator. 

Now melt the white chocolate the same way. When the chocolate is melted, take it of the sauce pan and let it cool off a bit (but make sure it stays fluid), so that when you pour it on the bottom layer, the layer won't or will hardly melt. Once the white chocolate is cooled off a bit, take the dish with dark/milk chocolate out of the refridgerator and pour the white chocolate on the same way as you did earlier. Sprinkle your crushed candy canes on top. Then put the dish back in the refridgerator and keep it refridgerated for 20 to 30 minutes. 

Step 3: Cutting (and eating!)

Once you've taken the dish out of the refridgerator, it should look something like the picture above. Gently peel of the parchment paper. To create little pieces of peppermint bark, cut it or break it. I decided to cut it in lots of different shapes (rectangles, triangles and weird shapes), because I like how every piece is unique that way and it looks fun on a plate. 

I love this peppermint bark and I hope you do, too. Before you know it, it will be all eaten up! 

Happy Holidays!

xox Mia